
The Art of Hanging a Mirror
- hangingtough
- Apr 14, 2023
- 3 min read
Mirrors are more than just functional items in our homes; they are decorative pieces that can brighten up any space and add an elegant touch to your interior design. Hanging a mirror is an art form that requires attention to detail and a bit of planning. In this blog post, we'll guide you through the process of hanging a mirror, so you can elevate your space with ease and confidence.
Step 1: Choose the Right Mirror Before you start hanging your mirror, it's essential to choose the right one for your space. Consider the size, shape, and style of the mirror to complement your interior design. A well-chosen mirror can create a focal point in a room, add depth, or even make a small space seem larger.
Step 2: Pick the Perfect Spot
Once you have chosen the perfect mirror, it's time to find the ideal spot to hang it. Mirrors can be used in various ways, such as reflecting natural light, adding depth to a narrow hallway, or making a statement above a fireplace. Take time to experiment with different locations and angles to find the perfect spot for your mirror.
Step 3: Gather the Necessary Tools and Materials
To hang your mirror, you'll need the following tools and materials:
Measuring tape
Pencil
Level
Stud finder
Drill
Wall anchors (if needed)
Screws or hooks
Hanging wire or D-rings (if not already attached to the mirror)
Step 4: Measure and Mark
Use your measuring tape to find the ideal height and width for your mirror. A general rule of thumb is to hang the mirror so its center is at eye level, which is approximately 57 inches from the floor. However, this may vary depending on personal preference and the room's layout. Mark the wall where you want the top and bottom edges of the mirror to be.
Step 5: Locate the Wall Studs
Using a stud finder, locate the wall studs behind the area you've marked for your mirror. Hanging your mirror on a stud will provide the most secure and stable support. If there are no studs available, you'll need to use wall anchors to support the mirror's weight.
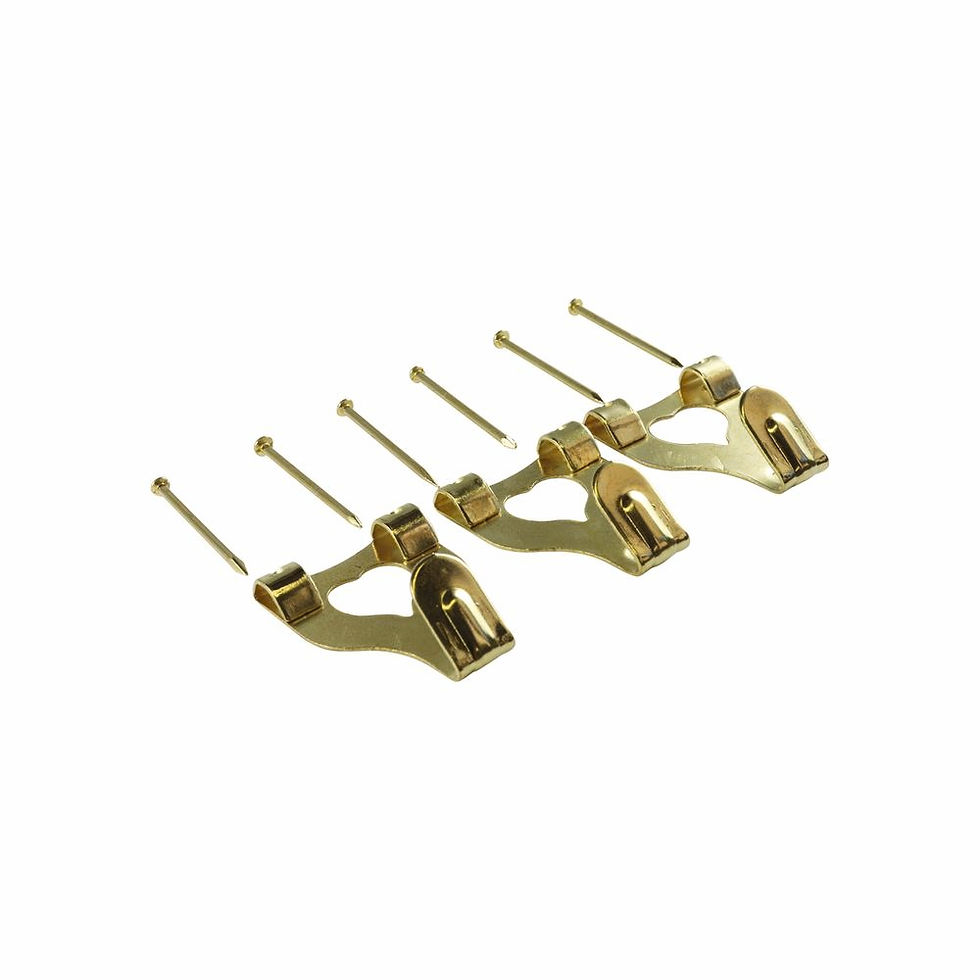
Step 6: Install the Hardware
Depending on the mirror's weight and the type of wall, choose the appropriate hardware. For lighter mirrors, you can use simple picture hooks or screws. For heavier mirrors, you may need to use wall anchors or a French cleat system.
Drill pilot holes for your chosen hardware, being careful not to damage any electrical wires or plumbing behind the wall. If using wall anchors, follow the manufacturer's instructions for installation.
Step 7: Attach the Hanging Mechanism
If your mirror doesn't already have a hanging mechanism attached, attach D-rings or a hanging wire to the back of the mirror frame. Follow the manufacturer's instructions for the proper placement and installation.
Step 8: Hang Your Mirror With the hardware installed, carefully lift your mirror and position it on the hooks or screws. Use a level to ensure the mirror is straight, and make any necessary adjustments. Hanging a mirror is an art form that can enhance your space and add a touch of elegance to your home. By following this step-by-step guide, you'll be able to hang your mirror with confidence and create a beautiful focal point in any room. Remember, the key to a perfectly hung mirror is planning, patience, and attention to detail.

Comments